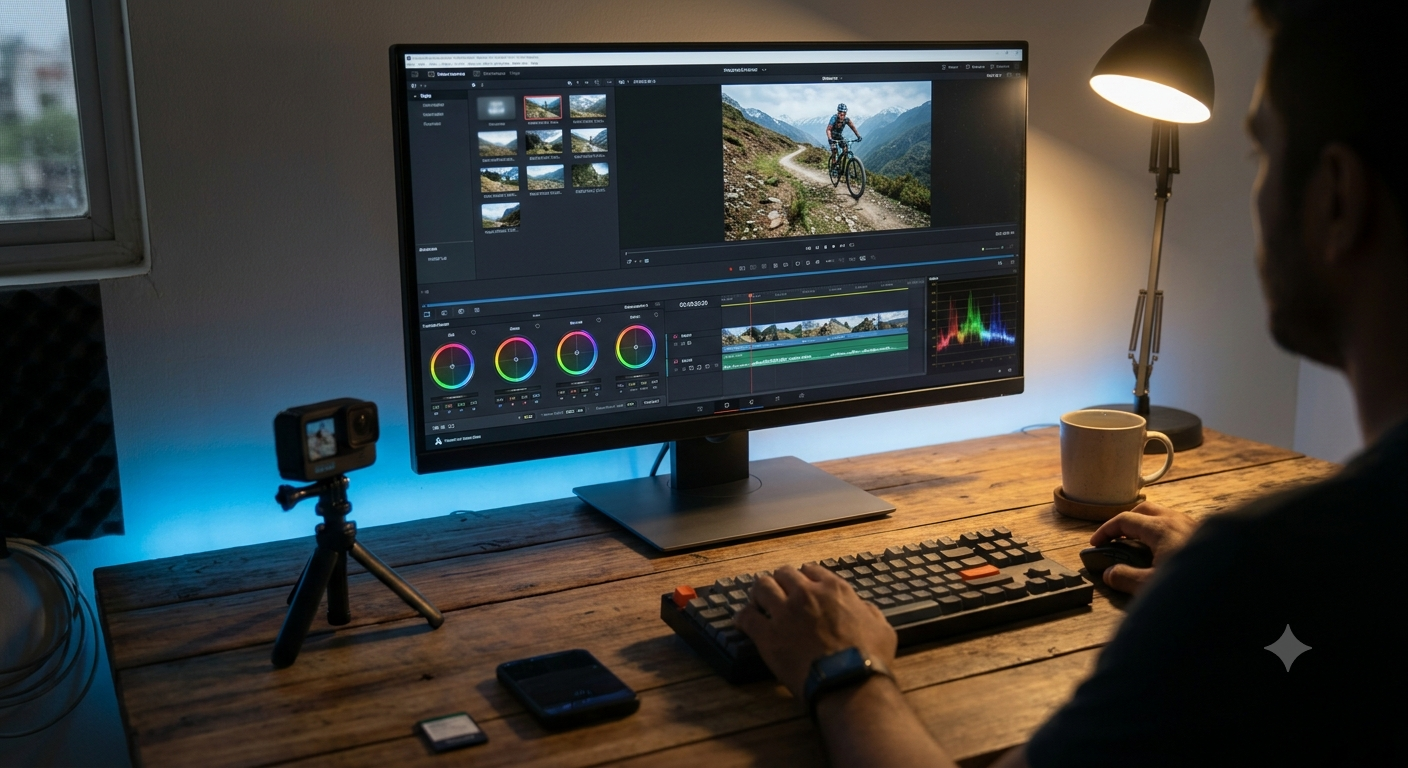
Action cameras capture amazing footage, but raw clips straight off the camera often look flat, shaky or too long for YouTube. The good news: you don’t need to pay for editing software. The free version of DaVinci Resolve is powerful enough to turn action camera footage into polished, professional-looking videos.
I edit my own DJI Osmo Action 4 videos in DaVinci Resolve for YouTube, so this guide follows the exact workflow I use: setting up the project, colour-correcting log footage, cutting, adding music and exporting with the right settings.
Quick Take
The workflow in short:
- Set up the project to match your footage’s resolution and frame rate
- Import and cut on the Cut or Edit page
- Fix the colour: apply the camera maker’s official LUT if you shot in a log profile
- Add music and balance audio on the Fairlight page
- Export with the YouTube preset on the Deliver page
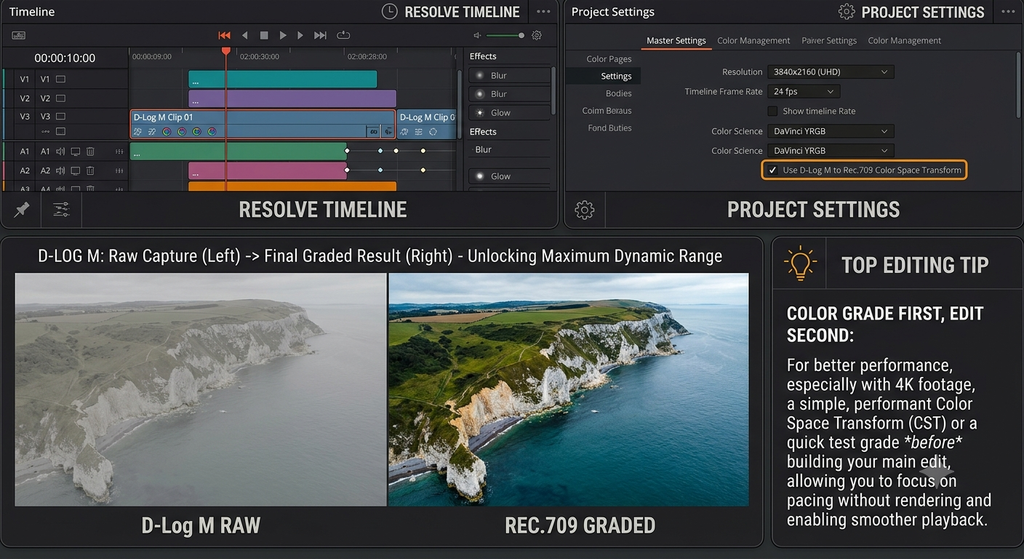
Table of Contents
Why Use DaVinci Resolve for Action Camera Videos?
- The free version is very capable, with professional editing, colour, audio and export tools
- Industry-leading colour grading, ideal for log footage from action cameras
- Works on Windows, macOS and Linux
- No watermark on exported videos
The paid Studio version adds features like advanced noise reduction and higher export resolutions and frame rates. For most YouTube creators, the free version of DaVinci Resolve is more than enough.
Step 1: Set Up Your Project Correctly
Create a new project, then open File → Project Settings before importing anything:
- Timeline resolution: match your footage, for example 3840 × 2160 (4K) or 1920 × 1080
- Timeline frame rate: match the frame rate you recorded at, such as 30 or 60 fps
- Playback frame rate: the same as the timeline
The timeline frame rate can’t be changed after you start editing, so set it first. If your footage plays back slowly, create optimised media or proxies (right-click the clips in the Media Pool) for smoother editing.
Step 2: Import and Cut Your Footage
- Drag your clips into the Media Pool
- Use the Cut page for quick trimming, or the Edit page for detailed control
- Remove shaky starts, dead moments and repeated shots; action videos work best when they move quickly
- Use the Inspector for basic stabilisation if a clip is still shaky
Step 3: Colour-Correct Log Footage
Many action cameras can record in a flat log profile, such as DJI’s D-Log M on the Osmo Action 4. Log footage looks washed out at first, but it keeps more detail in highlights and shadows, so you can grade it properly later.
- Download the official LUT for your camera’s log profile from the manufacturer’s website
- Go to the Color page and add a node
- Apply the LUT to convert the log footage to normal-looking colours (Rec.709)
- Fine-tune exposure, contrast and saturation with the primary wheels
- Copy the grade to other clips shot in similar light to save time
If you shot in normal colour mode, skip the LUT and just make small adjustments to exposure and saturation.
Step 4: Add Music, Titles and Balance Audio
- Use royalty-free music, such as the YouTube Audio Library, to avoid copyright claims
- Lower the camera audio if wind noise is distracting
- On the Fairlight page, check that levels peak around –6 dB and don’t clip
- Add simple titles from the Effects library on the Edit page
Step 5: Export for YouTube
- Open the Deliver page
- Choose the YouTube preset and select your resolution, such as 2160p or 1080p
- Keep the frame rate the same as your timeline
- Choose H.264 or H.265 if available; H.265 creates smaller files
- Click Add to Render Queue, then Render All
Uploading in 4K, even from 1080p footage upscaled to a 4K timeline, often makes YouTube stream your video at higher quality.
Save Time With a Default DaVinci Resolve Setup
If you always shoot with the same camera, save your settings once and reuse them:
- Save a project preset with your usual resolution and frame rate
- Save your colour grade as a PowerGrade or still in the Gallery
- Save a custom render preset on the Deliver page
The biggest difference to my Action 4 videos came from applying DJI’s official D-Log M LUT on its own node, then adjusting exposure and saturation on a separate node before it. My footage went from flat and grey to natural-looking colour in seconds.
Common Problems and Fixes
| Problem | Fix |
|---|---|
| Playback is choppy | Create optimised media or proxies, and lower playback resolution |
| Footage looks grey and flat | Apply the correct log LUT on the Color page |
| Colours look too strong after the LUT | Lower saturation or the LUT’s key output gain |
| Export is very large | Use H.265 or lower the bitrate |
| Audio is too quiet | Normalise or raise levels on the Fairlight page |
Aadyanix Verdict: Free, Powerful and Worth Learning
For action camera creators, the free version of DaVinci Resolve is hard to beat. Set up your project correctly, use the official LUT for log footage, keep your edits tight and export with the YouTube preset.
Once you save a default setup, editing each new video becomes much faster. Using AI tools to write titles and descriptions? See our guide on how to write better AI prompts.
DaVinci Resolve: Frequently Asked Questions
Is DaVinci Resolve really free?
Yes. The free version includes editing, colour, audio and export tools, with no watermark. The paid Studio version adds extra features.
What is a LUT and why do I need one?
A LUT converts flat log footage into normal-looking colours. Use the official LUT from your camera maker for log profiles like D-Log M.
What export settings should I use for YouTube?
Use the YouTube preset on the Deliver page, match your timeline frame rate and choose your resolution, such as 4K or 1080p.
Why is DaVinci Resolve slow on my computer?
Create optimised media or proxies and lower the playback resolution. Resolve works best with a capable graphics card.
Can I stabilise shaky footage in the free version?
Basic stabilisation is available through the Inspector on the Edit page.
Have a question about editing in DaVinci Resolve? Get in touch and I’ll be happy to help.