Disclosure: This article contains referral links. If you sign up through them, Aadyanix may earn a small commission at no extra cost to you. Aadyanix itself runs on Hostinger, and our recommendations are not influenced by this relationship. Read our Disclaimer.
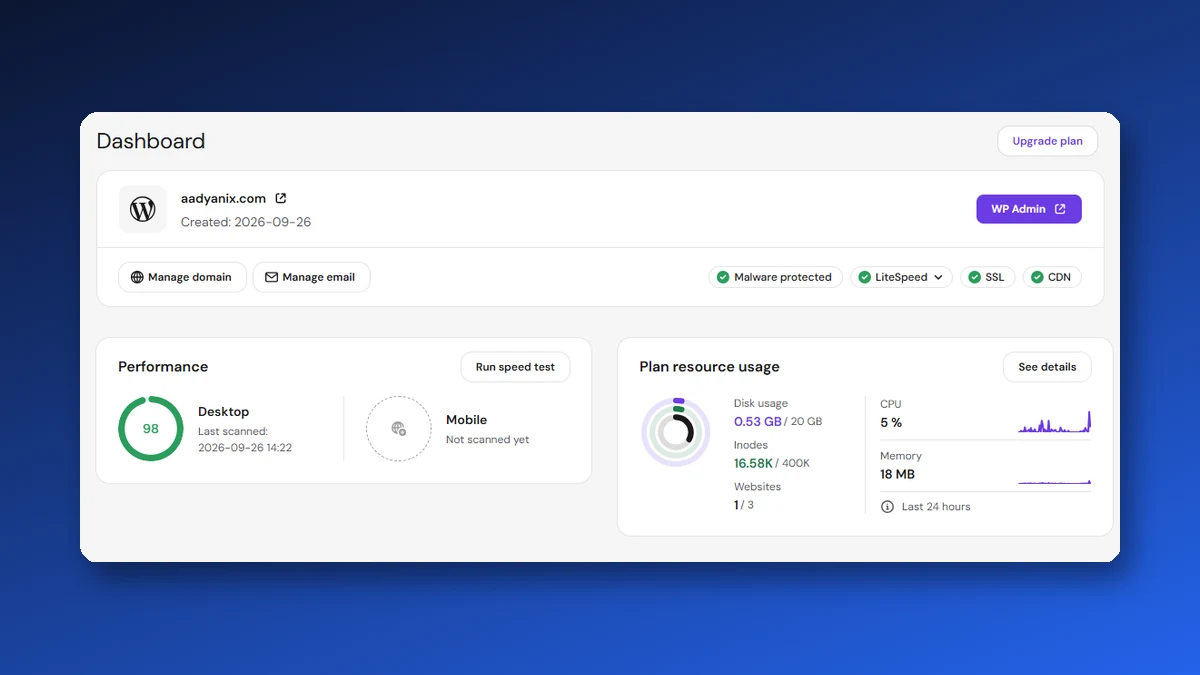
Want to start a blog in India but worried it’s too technical or expensive? I built Aadyanix on Hostinger without writing a single line of code.
In this guide, I’ll show you exactly how to start a blog with Hostinger: which plan to pick, how to set up WordPress, what to do after launch, and the honest pros and cons I found along the way.
Quick Take
To start a blog with Hostinger in India:
- Choose a WordPress hosting plan; a longer term lowers the monthly price
- Claim your domain; it’s free for the first year on eligible plans
- Pay with UPI, RuPay or cards and log in to hPanel
- Install WordPress in one click, add a theme and essential plugins
- Create your About, Contact and Privacy Policy pages, then publish your first posts
Watch out for: higher renewal prices and pre-selected add-ons at checkout.
Plan details checked on Hostinger India’s website on 4 October 2026. Prices and offers change often, so confirm them at checkout.
Table of Contents
Why I Chose Hostinger for Aadyanix
Before deciding to start a blog with Hostinger, I compared a few hosting providers. Hostinger won for four reasons:
- Affordable for Indian users. Plans are priced in rupees, and longer terms bring the monthly cost down significantly.
- One-click WordPress. WordPress installs automatically during setup, so you can start writing the same day.
- Easy payments. Hostinger accepts UPI, RuPay, Visa, Mastercard and more, so you don’t need an international card.
- 24/7 support. Helpful when you get stuck connecting a domain or setting up email.
If you want to try it yourself, you can get started with Hostinger here.
Hostinger WordPress Plans at a Glance
| Plan | Websites | Storage | Best for |
|---|---|---|---|
| Single | 1 | 10GB SSD | Testing a single small site |
| Premium | 3 | 20GB SSD | Most new bloggers |
| Unlimited | Unlimited | 50GB NVMe | Running several sites |
| Cloud Startup | Unlimited | 100GB NVMe | Growing, higher-traffic sites |
All plans include free SSL certificates, weekly backups, one-click WordPress installation and a 30-day money-back guarantee, according to Hostinger. The lowest advertised monthly prices apply to long 48-month terms, and plans renew at higher rates after the first term.
My suggestion: if you want to start a blog with Hostinger as a beginner, Premium is the sensible middle ground. Single works if you’re sure you’ll only ever run one small site.
How to Start a Blog With Hostinger: Step by Step
- Pick a hosting plan. Go to Hostinger and choose a WordPress hosting plan. Choose a longer billing period for the lowest monthly price, if the upfront cost suits your budget.
- Claim your domain. Search for the name you want. I chose aadyanix.com. If your plan includes a free domain, claim it during checkout.
- Review checkout carefully. Untick any add-ons you don’t need yet, and note the renewal price.
- Pay and log in to hPanel. Pay with UPI, card or net banking, then log in to hPanel, Hostinger’s control panel.
- Install WordPress. Follow the onboarding wizard and select WordPress. Hostinger installs it for you in a few minutes.
- Choose a theme. Pick a clean, fast, mobile-friendly theme, then add your logo, colours and fonts.
- Add essential plugins. I use Rank Math for SEO, LiteSpeed Cache for speed and UpdraftPlus for backups. Install only what you really need.
- Create your key pages. Add About, Contact, Privacy Policy and Disclaimer pages. They build trust and are expected by programmes like Google AdSense.
- Publish your first posts. Write several genuinely helpful articles before you start promoting your blog.
When I decided to start a blog with Hostinger, the whole technical setup took about two hours. Most of my time since has gone into writing content, which is how it should be.
What to Do After You Launch
- Connect Google Search Console and submit your sitemap so Google can find your posts
- Turn on caching and image optimisation to keep pages fast on mobile
- Set up automatic backups so you can restore your site if something goes wrong
- Link related posts together to help readers and search engines
- Publish consistently, ideally two to three helpful posts a week at the start
Writing faster with AI? Our guide on how to write better AI prompts helps you get useful drafts, but always edit and fact-check before publishing.
Hostinger Review: Honest Pros and Cons
No hosting provider is perfect. Here’s my honest take after running Aadyanix on Hostinger.
| What I liked | What could be better |
|---|---|
| Low starting price on long plans | Renewal prices are higher than the first-term offer |
| One-click WordPress and a simple hPanel | WordPress itself takes time to learn |
| Free domain and SSL on eligible plans | Some add-ons are pre-selected at checkout |
| Fast setup and 24/7 support | Entry plans have limits on websites and resources |
My tip: check the renewal price before paying, and untick any add-ons you don’t need yet.
Who Should Use Hostinger?
The best people to start a blog with Hostinger are beginners, students, freelancers and small business owners who want a site without hiring a developer. If you expect very high traffic from day one, look at the higher-tier or cloud plans instead.
Tips before you start a blog with Hostinger:
- Choose a short, easy-to-spell domain name
- Pick one clear topic, so readers and Google know what your blog is about
- Add your About, Contact and Privacy Policy pages early
- Use a strong password and two-factor authentication on your hosting and WordPress accounts
Security matters from day one. Our guide to protecting your online privacy covers passwords and two-factor authentication.
Aadyanix Verdict: Should You Start a Blog With Hostinger?
If you’re a beginner in India, it’s easy to start a blog with Hostinger: affordable plans, Indian payment options and one-click WordPress mean you can go live in an afternoon.
Just go in with your eyes open. Check the renewal price, skip add-ons you don’t need, and plan to spend far more time on content than on setup.
Ready to build your blog? If I could set up Aadyanix without coding, you can set up yours too.
Start a Blog With Hostinger: Frequently Asked Questions
Do I need coding skills to start a blog on Hostinger?
No. Hostinger installs WordPress for you, and you can design your site with themes and the visual editor.
Can I pay for Hostinger with UPI in India?
Yes. Hostinger accepts UPI, RuPay, Visa, Mastercard and other payment methods.
Is the domain really free with Hostinger?
On eligible plans, the domain is free for the first year. After that, it renews at the standard domain price.
Can I get a refund if Hostinger isn’t right for me?
Hostinger advertises a 30-day money-back guarantee. Check the terms, as some items such as domains may be excluded.
Can I earn money from a blog hosted on Hostinger?
Yes. Once you have steady, helpful content and visitors, you can apply for Google AdSense and join affiliate programmes.
Have a question about setting up your blog? Get in touch and I’ll be happy to help.